


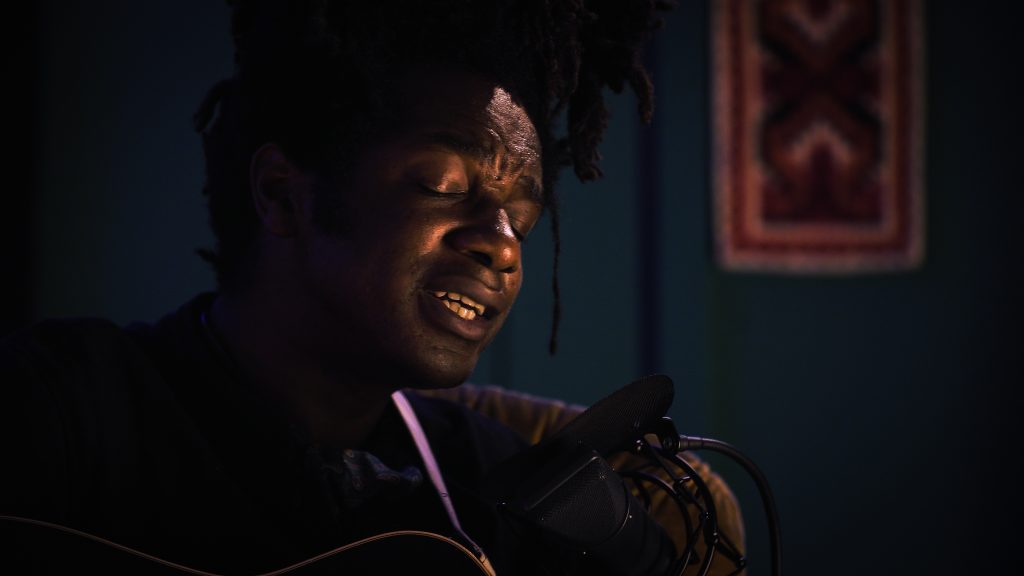
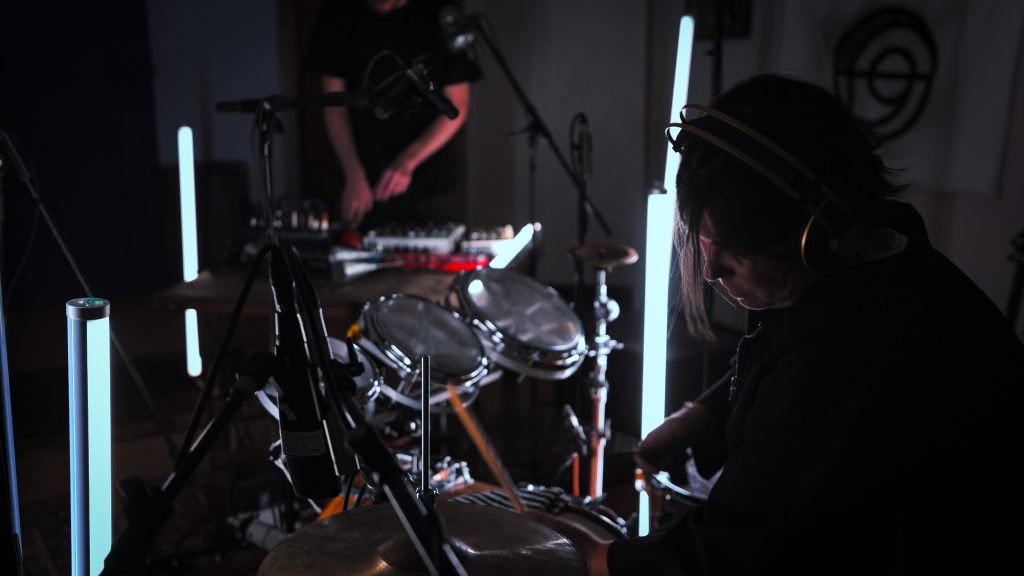


https://youtu.be/ICEnLorRhDU?si=Crd4xOqpgag7Cucz Familiar Action, the South London art-rock juggernauts, made a hell of a bang during their electrifying session at Arcus Sounds—a standout among the top-billing live performances we’ve captured at our music studio.This session marked their debut showcasing new material on camera, and we’re thrilled to have captured their musical lightning in a bottle. Set in-the-round, this session showcased a the power of this set up to get a clean

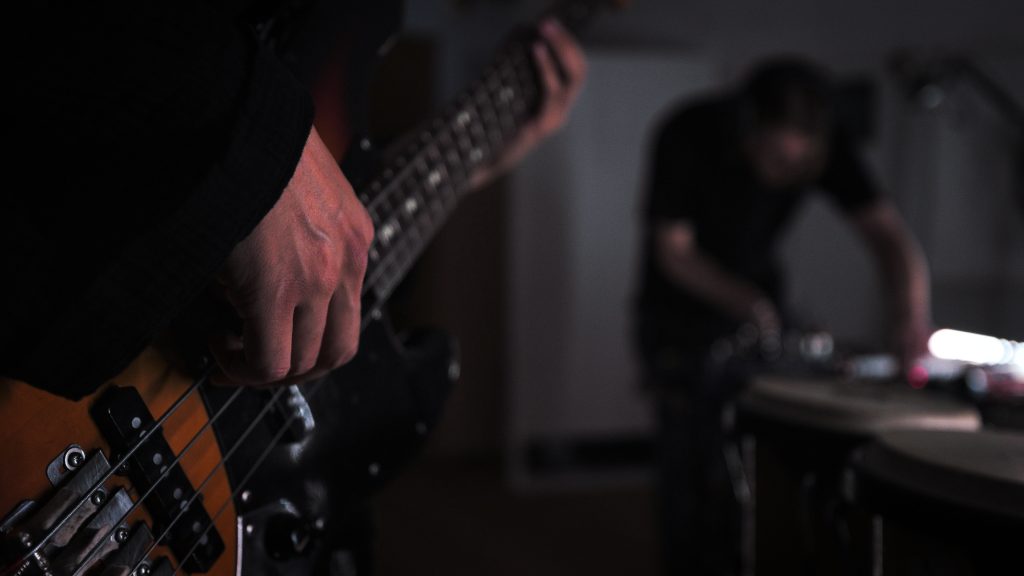
When the musical landscape meets the vibrant city of London, there’s no better place to experience the magic of a music studio than at Arcus Sounds. In a memorable rendezvous, our dear friends, The Parrots from Madrid, graced us with their presence during their first UK tour since the pandemic. The studio walls resonated with the awesome sounds of their new songs as they performed live, and the arcus filmed

Whether you are a seasoned musician or an emerging band, having your own band rehearsal space is crucial. It provides the perfect environment for creativity, collaboration, and fine-tuning your musical prowess. However, setting up a rehearsal studio can be quite daunting if you don’t know where to start. This guide will walk you through the process of creating an ideal rehearsal space that suits your band’s needs. To book a