If you’re planning to record your own music live — whether it’s a stripped-back acoustic set or a full band session — you’ll want to make sure you’re properly set up. Live recording comes with its own set of challenges, but with the right preparation, you can capture performances that feel authentic, powerful, and clear. Here’s a practical guide to everything you need.
Essential Equipment for Recording Live Music
Live recording setups can range from simple two-mic rigs to full multi-track systems.
Here’s the core gear you’ll need to record live music effectively:
Microphones
Microphones come in various types tailored for different use cases.
Dynamic mics (like the Shure SM57) handle loud sources well; condensers capture more detail for vocals and acoustic instruments. We’ll discuss microphones in much more detail later on.
Audio Interface
Converts mic and instrument signals into something your recording device or computer can capture. Typical audio interfaces expect signals over analog cables like XLR and Jack, although they can often also be expanded over digital systems like Dante, Madi & ADAT.
Mixer
Essential for balancing various audio sources during a live performance, especially beneficial for bands or orchestral recordings.
Musicians also often expect to be able to customise their own monitor mix, which brings us to :
Headphones
A pair of closed-back headphones or in-ear monitors is indispensable for real-time monitoring. Whilst you can also live-track without headphones – [in the vein of speedy wunderground] – in most cases you’ll want to minimise monitor noise interference to ensure accurate recordings.
Digital Audio Workstation (DAW)
This software enables recording, editing, mixing, and mastering your tracks on your computer. If you don’t have a hardware mixer, you can also monitor via your DAW and sound card, but be mindful to check your latency settings don’t throw off the performers.
Portable Recorder
Handy for capturing outdoor performances or concerts, or as a backup in addition to your main recording rig.
Location, Acoustics & Setup
Where you record is just as important as what you record with. A great mic can’t fix a bad-sounding room!
Key factors to consider:
- Space: Look for rooms with natural balance — too much reverb can muddy the recording, while overly dead spaces can sound unnatural.
- Mic Placement: Careful positioning minimises bleed between instruments and avoids phase issues. Budget time to experiment during setup: a small shift can make a big difference, see below.
- Noise Control: Check for buzzing lights, nearby traffic, HVAC systems — anything that might sneak into your tracks.
At Arcus Sounds our own live room features acoustically treated side-walls and corners to emphasise direct sound while preserving the natural liveliness that comes from our beautiful arched ceiling.
Microphone choice & placement
Context
Bear in mind that in live tracking, microphone sensitivity is well worth considering.
Where musicians are all performing in the same room, bleed and spill are often going to be unavoidable, so it’s critical to spend time managing both the stage setup and microphone placement.
As already mentioned, Dynamic microphones are great for capturing high intensity sound sources , like drums – but are also very useful for recording a live band in the same room because they have much lower sensitivity to background noise.
Condenser microphones typically are much more sensitive to spill, which may mean your source sound is less isolated and lead to potential complications at mixdown. This doesn’t mean we shouldn’t ever use them, but instead aim to leverage the appropriate strengths of each microphone design to get closer to the sound we want.
Know your patterns
Positioning your microphones correctly with respect to your source is the initial step. Take your time with this: a first placement is really just an educated guess, so budget the time to experiment, listen back and adjust accordingly until you find your perfect setup.
Different polar patterns have pros and cons, with corresponding tradeoffs. There are no hard and fast rules, but having a grasp of what to expect can help you make more informed first choices. For instance; placing a mic 6-12 inches away from a singer’s mouth is typically optimal for vocals, balancing sibilance against warmth.
We go into detail on some of our favourite choices for live sessions in this post.
Spill the beans
Finally – spill isn’t always bad. There’s a real balance to be found between trying to get ‘isolated’ individual signals for each source, and a ‘cohesive’ group sound to help glue a band together.
Counter-intuitively, putting performers closer together often works out best – the resultant group space is more like a tight stage, rather than a washy, ‘bad reverb’.
Capturing the Performance: Best Practices
Recording live music isn’t just about gear; it’s about creating the right conditions for a great take. Here are practical tips to get the most out of your session:
Final Checks
Document Setup: Take quick photos of mic placements and note input channels. If you need to re-record or troubleshoot, you’ll thank yourself.
Check your Cables: Always keep an ear out for the odd buzz or hum – try swapping out cables or flipping a ground switch button. If you can, opt for top-tier cables to enhance sound quality by reducing noise and interference.
Configure your DAW: Keep things tidy with a new project and an appropriate sample rate. Choosing a 24-bit WAV format offers uncompressed audio quality, ideal for preserving live performance nuances. Some location recordists prefer to record in 32-bit floating point, to be extra safe with ultra-dynamic sources – as long as you’re careful with your gain-staging, 24-bit is fine for most sources.
Soundcheck Thoroughly: Always run a full test recording, not just a quick line check. Listen back through headphones and monitors to catch any issues before the “real” takes.
When You're Up & Running
Monitor Levels: Keep a vigilant eye on input levels throughout the performance – as a rule of thumb we recommend leaving about 18 db of headroom to accommodate for dynamic performances and sudden jumps in level.
Record Multiple Takes: Even if you’re aiming for “the” live take, having options reduces pressure and often captures unexpected magic.
Communication is Key: Musicians need to hear and respond to each other easily. Setting up a good headphone mix can make a huge difference — prioritize clear vocal cues, rhythm instruments, and any key signals between players. For larger setups, using talkback mics (so the engineer can easily speak to the band) helps keep sessions smooth.
Keep Rolling: Some of the best moments happen after “official” takes are over. Stay ready to capture them.


Bonus Gear to Take Your Live Recordings Further
If you’re aiming for studio-quality live captures, a few extra tools can really help lift the results:
DI Boxes: Clean, direct capture of bass guitars, keyboards, and acoustic pickups. For guitars also this is often a really sensible idea – giving you the chance to re-amp the live performance in a controlled studio environment.
External Preamps: Add warmth, character, and detail that stock interface preamps sometimes lack.
Room Mics: Capture the feel of the space and the interaction between players; having a pair of room mics is also very useful for adding dimension and texture at mixdown. Try slamming them through some ultra-fast compressors, or feeding them into a reverb patch minus the early reflections.
Onsite Engineer: Hiring a professional engineer means you can focus purely on performing while someone else manages technical quality.
Should I Hire a Studio to Record Live Music?
Depending on the project, recording in a professional studio can be a smart choice.
Here’s a quick comparison:
DIY Setup
- Lower upfront cost
- Full creative control
- Have to self-diagnose and address technical issues
- Might take quite some time to get going from scratch
Studio Session
- Professional equipment and acoustics
- A team to support you technically and creatively
- More time to focus on the performance itself
Recording live at Arcus Sounds means benefiting from a controlled environment that still allows for the energy and spontaneity of a great performance. You’ll also have the support of engineers who know how to troubleshoot on the fly — so if a mic slips or a headphone mix needs adjusting, it’s handled with minimal fuss.
Specialising in Recording Live Music at Arcus Sounds
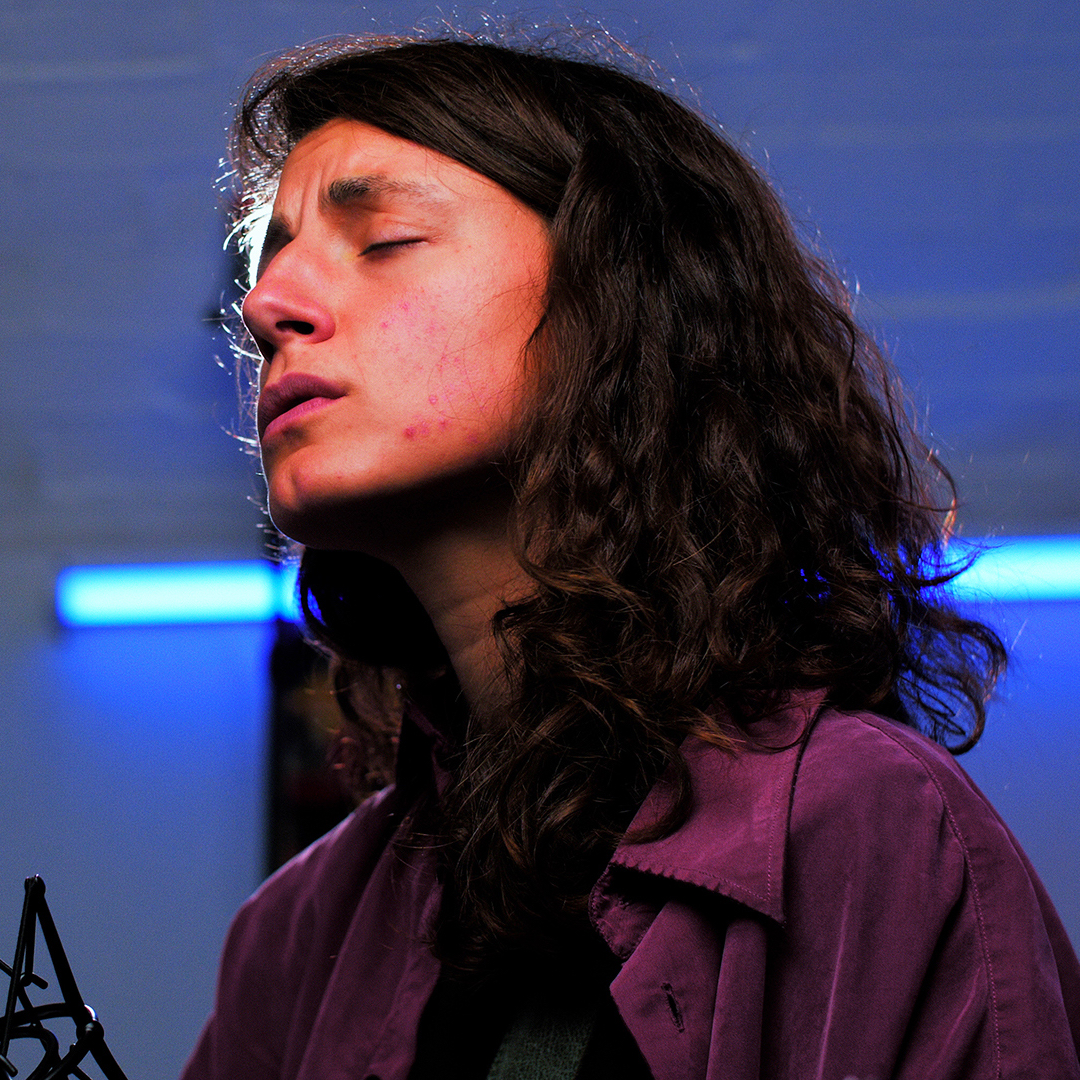
Recording live music is about more than just sound — it’s about capturing a feeling, a snapshot that feels honest and alive. Whether you’re setting up a mobile rig or booking time at a professional studio like Arcus Sounds, preparation and the right environment can make all the difference. When everything is working around you, it becomes easier to focus entirely on the music itself.
If you’re curious to see how we approach live recording, feel free to explore our Youtube Channel.
If you’re ready to record your live session in a beautifully treated space with a supportive team, we’d love to hear from you.